Sunday, 25 August 2013

Coconut Macaroons


Hello Everyone!
So I decided to share with you all my recipe for coconut macaroons. These bite-size treats are a favourite amongst my family, partly because they are gluten free which suits my coeliac dad. They are one of the easiest things to whip up if you're in a rush and everybody who has tried them seems to love them! Another great thing about these macaroons is that they only need 4 ingredients(none of that egg white nonsense most recipes have!) and they will have your kitchen smelling like a tropical paradise.

Ingredients:
Method:
Beat your eggs well.
Add the castor sugar and desiccated coconut. Stir until all the ingredients are mixed together.
This stage can get a bit messy so to reduce the mess have a bowl of ice cold water at the ready and your baking tray lined with greaseproof paper.
Soak your hands in the cold water and then take a golf ball sized amount of the mixture and roll between the palm of your hands until it resembles a rounded pyramid shape.Place the macaroons on your baking tray.
Bake in a preheated oven at 180' for 20 minutes or until they are golden on the outside.When cool enough to touch,transfer the macaroons on to a plate.
Break up your chocolate into a bowl and melt in the microwave for 1-2 minutes.
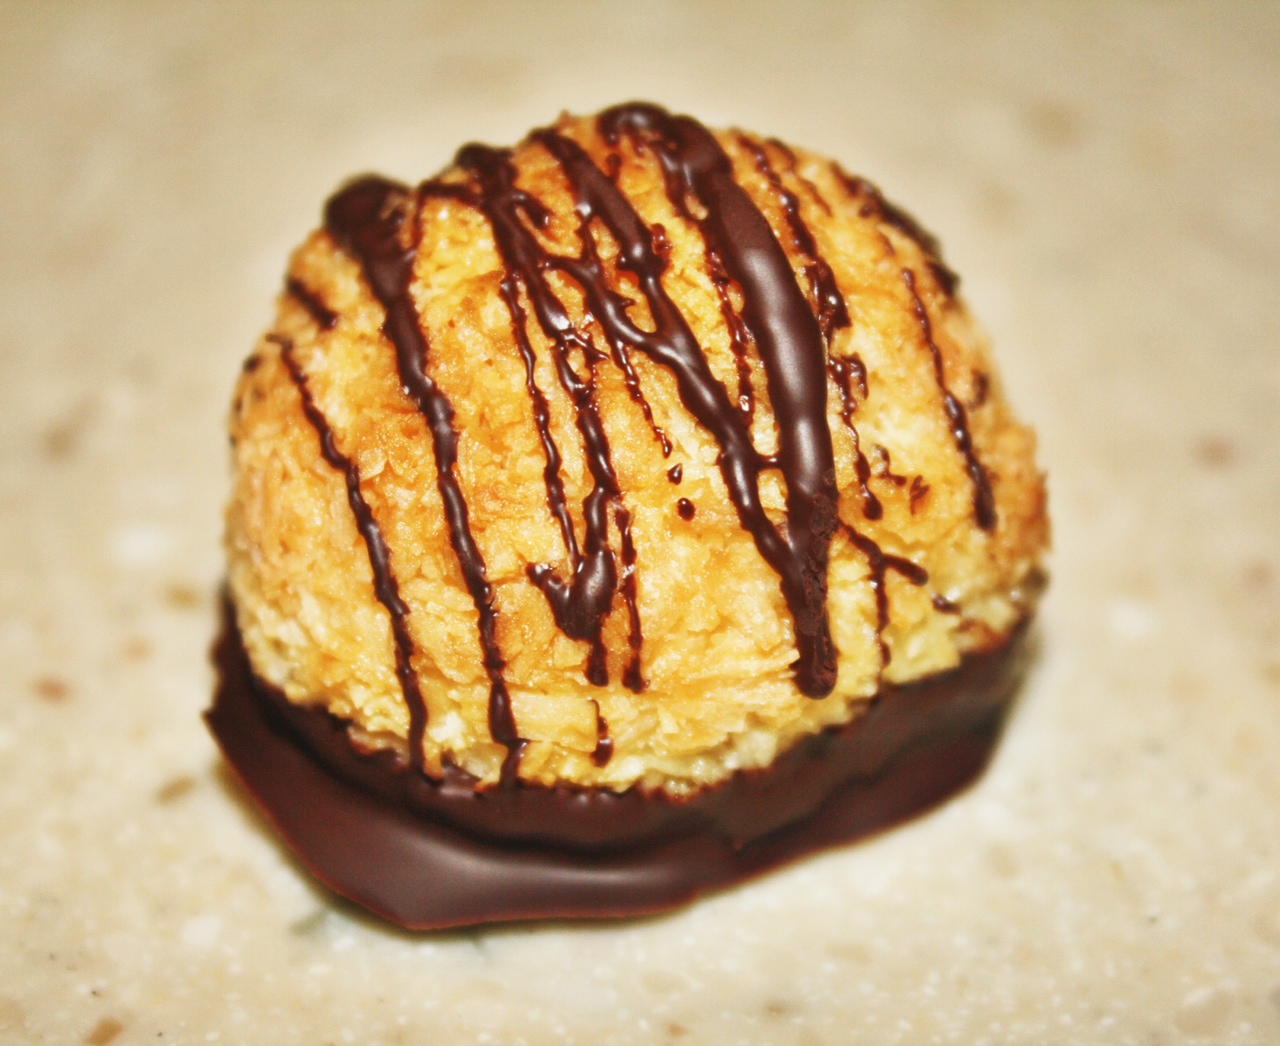
Dip the base of the macaroons into the chocolate and place on the tray that you originally baked the macaroons on.
Drizzle any remaining melted chocolate on the top of the macaroons. Allow the chocolate to set for 30 minutes.


Have fun trying out these yummy and chewy delights!
Love Kate x

Tuesday, 20 August 2013

Toni&Guy : Casual Range


Hello Everyone!
If you happen to be in the market for a range of hair styling products to give you that 'celebrity just woke up and didn't do anything' kind of hair then this is the range for you! Toni&Guy released their Hair Meet Wardrobe collection last year. Included in the range is glamour,creative and classic along with cleanse and nourish, prep range and a mens styling range. I snatched up the Sea Salt Texturising Spray and also the Foaming Spray Gel from the 'Casual' collection which also has a Flexible Hold Hairspray and Sculpting Powder.
Ever since I first tried out the Sea Salt Texturising Spray, I knew it become one of my most used hair styling products.Its perfect for when you don't want to use heat on your hair but you still want to create movement and body. If you apply it damp hair, this product will give you beachy tousled waves.And when applied to dry hair it gives so much texture and shape(with a bit of help from scruching those locks in your fingers). I sometimes just like to spritz this in my styled hair because of its gorgeous scent. This spray has notes of pink peppercorn,English Earl Grey tea,vanilla,rose,musk and ginger.Delicious!
When it comes to the Foaming Spray Gel, I must admit that I didn't think this would be any benefit to me. It has only been recently that I took this out from the back of the shelf in our bathroom and really tried to figure this product out.I know that most people use this product when their hair is wet but I felt that left my hair feeling slightly tacky. So instead I found it works great when your hair is nearly dry and you spray one spritz(from a good distance) onto your roots to give that extra boost in volume. It also works unbelievably for making the waves from the Sea Salt Spray, last longer by spraying it allover your hair. This gel does not make your hair or hands sticky at all and really does help to create that natural hold.
Both of these styling products give a matte finish to your hair and will last until you wash them out. I do use the Toni&Guy Casual range to give my hair a break from heat styling, but because these do contain salt they will dry out your hair so make sure you condition well after use. You can purchase these products in Boots for €7.99 each.
Love Kate x

Saturday, 17 August 2013

Review: Balmi Lip Balm


Hello Everyone!
As I am a lip balm addict ,I am surprised it has taken me so long to jump on the bandwagon and try the Balmi lip balms. These balms come in the cutest packaging with the outer colour resembling the flavours available; strawberry,coconut, raspberry,mint and blackberry. The pot has a twist-off lid and inside is a raised moon of lip balm, this is perfect as it means you don't need to get your fingers all sticky when applying!
These little pots have some snazzy features as it comes with a black chain so you can tie them to your keys,purse or phone. One of my favourite things about Balmi's is that they are tested to ensure SPF15 and UVA protection for your lips. The two flavours that I have tried are so delicious. The strawberry one definitely has a more powerful scent but I prefer the coconut one as it reminds me of holidays. The coconut and strawberry Balmi's have no colour payoff but I'm not 100% sure if the other flavours tint you lips.
(purse:Ted Baker)

I wouldn't say that that these lip balms give the most intense nourishment for your lips but they do offer that kick of moisture when your out and about.The ingredients include Jojoba Oil,Shea butter and antioxidant-rich Vitamin E which keep your pout super smooth and soft!

Balmi's are available online from Mc Cabes Pharamcy and only cost €5.95, plus there is an offer at the moment which will give you free delivery until August 31st. SCORE! They contain 10g of product which is a whole lot of balm for that amount of bucks! I must warn you that Balmi's are extremely addictive and you will find yourself constantly reaching for these miracle pots.Next on my list is the blackberry flavour,YUM!
Love Kate x

Thursday, 15 August 2013

Flourless Chocolate Cake

Hello Everyone!
If you're ever stuck for a dessert to bring to a dinner party, this one for you! It's a very rich and dense chocolate cake that is perfect served with a scoop of ice-cream. As it is made with ground almonds, instead of flour, it has a more intense flavour and is also perfect for any coeliac guests. 

Ingredients:

Method:
Preheat your oven to 170'C
Break the chocolate into small pieces and melt in a bowl over a pan of simmering water. Don't allow the water to touch the bottom of the bowl.
Cream the butter and sugar together in a bowl using an electric mixer.
Add the 4 egg yolks,ground almonds and melted chocolate.
Mix until well combined.

In a spotlessly clean bowl,whisk your egg whites until stiff peaks form.

Add 1/3 of the egg whites to your mixture. Fold in gently using a metal spoon.

Add the rest of the egg whites to your mixture and combine them gently until the egg whites are no longer visible.
Add your mixture to a lined tin, preferably with a removable bottom. Put in the oven for 25min or until cake set in the centre.
Allow to cool in the tin for 15 minutes. 
Present your dessert on a cake stand with a sprinkle of icing sugar.
Me being a freak!
Love Kate x


Tuesday, 13 August 2013

DIY Lip Scrub

Hello Everyone!
As much as I do love to wear a matte lip, there is nothing worse than flaky chapped skin poking through your lippie. In order to tackle this problem we must pamper our lips to a good old exfoliation! LUSH are known for their variety of lip scrubs but unfortunately my nearest store is over 2 hours away so I thought I would show you how to make your own lip exfoliater. It is so simple and much cheaper than to buy one from a store. I used lime juice to give my scrub a fresh and citrusy zing but you could use vanilla,peppermint or strawberry etc. For a bright pop of colour, I added red food dye but be careful not to use blue or green as it can slightly stain your lips.


When you have made your lip scrub, take a small scoop on your finger and scrub 'til your hearts content. This seriously works wonders and for an ultimate lip pampering session,  generously apply your favourite lip balm after. At the moment mine is Nivea Vanilla and Macadamia Lip Butter.

Love Kate x


Saturday, 10 August 2013

How to Get Kate Middleton Curls

Hello Everyone!
With all the hype recently about the royal baby, I thought I would show you how I get curls inspired by the yummy mummy Kate Middleton. Amanda Cook Tucker, Kate's hairdresser,uses a blow-dryer to get those voluptuous curls but I thought I would show you a simpler way by using a GHD hair straightener. 
Start by sectioning your hair and spraying it with heat protectant. I use John Frieda Frizz-Ease Heat Defeat Protective Styling Spray available from Boots.

 Take large sections of your hair and pull it through your hair straightener. When you reach halfway down the length of your hair start turning the GHD away from your face.
 Keep twisting the straightener until all your hair has been passed through the clamps.
 This should result in a curl that starts at the end of your hair.
 Continue this process, bringing down new sections of hair. Try alternating the way you turn the straightener to give different dimensions and also to create more volume.
 When you have reached the last section of your hair, part it to the side which suits you best. If you happen to have a side fringe like Kate, part it with the grain of the fringe.
 Continue curling the rest of your hair. But remember to only start twisting the straightener when you are halfway down the length of your locks. 
Take the front section of your hair and using a brush or comb, backcomb it to create more volume.

Spray your curls with hairspray to ensure they will last as long as possible. I used the Carino Provive natural hold hairspray.
Run you fingers through your hair to separate the curls.

Here is the finished look! A super easy and elegant hairstyle that you can wear for a casual look or an evening event.

Love Kate x


Tuesday, 6 August 2013

Kate's Cake Pops


Recently pictures of cake pops have been ‘popping’ up on my instagram (@kateobrien_1)and have been making me intrigued to learn more. These yummy goodies really have become more popular in the past year. They’re a combination of cake sponge, chocolate and a lollipop stick. These pretty little deserts are perfect for celebrations but I must admit they do look time consuming.Here is my cake pop creation recipe...


Ingredients:
1 cake sponge (I used a chocolate all-in-one microwave cake)
300g of good quality dark chocolate
100g of white chocolate
15 cocktail sticks
block of oasis
Decorations (sprinkles,edible glitter,food colouring etc)

Method:
1.Firstly I baked the easiest of all cakes, an all-in-one chocolate microwave cake. I decided to use this as it results in a dry cake and you wont need the best quality of sponge for these cake pops.

2.When the sponge was cool enough to touch,I crumbled it into fine crumbs using my finger tips.

3.I then melted 200g of the dark chocolate,alter this step to white chocolate if using a vanilla sponge so the colours will match!I then added this to the cake crumbs and combined the ingredients using a wooden spoon.

4.Using the palm of your hand, roll sections of the cake into small spheres(size of a golf ball). Place a lollipop/cocktail stick into the centre of each ball.
5.Leave the cake pops to set and chill in the fridge for 30 minutes.

6.The next step is decoration. You may be as creative as you wish here. Choose whatever type of chocolate you desire, melt it, and dip each cake pop into the chocolate.

7.Add any edible decorations you want, then allow the chocolate shell to dry by sticking each cake pop into oasis.

The finished treat is very a pretty lollipop. When you first take a bite of the cake pop you will be met by a crisp hard layer of chocolate soon followed by a rich and almost fudgy inside. These desserts can be altered in so many ways to make them perfect for any occasion. Please do try these tasty pops out and enjoy!


Love Kate x